Awning Bracket Installation Services Overview
Visitors can learn about how local contractors install awning brackets and compare options to find the right service providers.
- - Residential property owners seeking professional awning bracket installation for patios, decks, or windows.
- - Commercial businesses needing durable and reliable awning bracket setup for storefronts or outdoor seating areas.
- - Contractors or handypersons looking to connect with local specialists for precise awning bracket installation services.
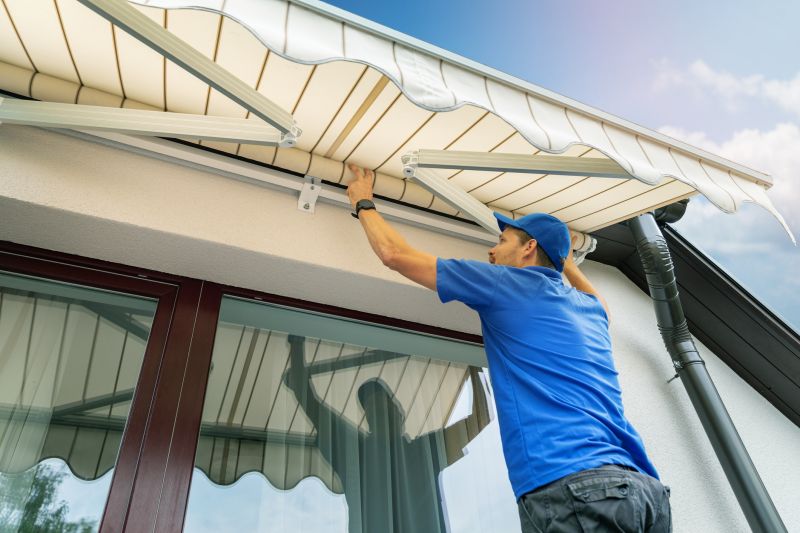
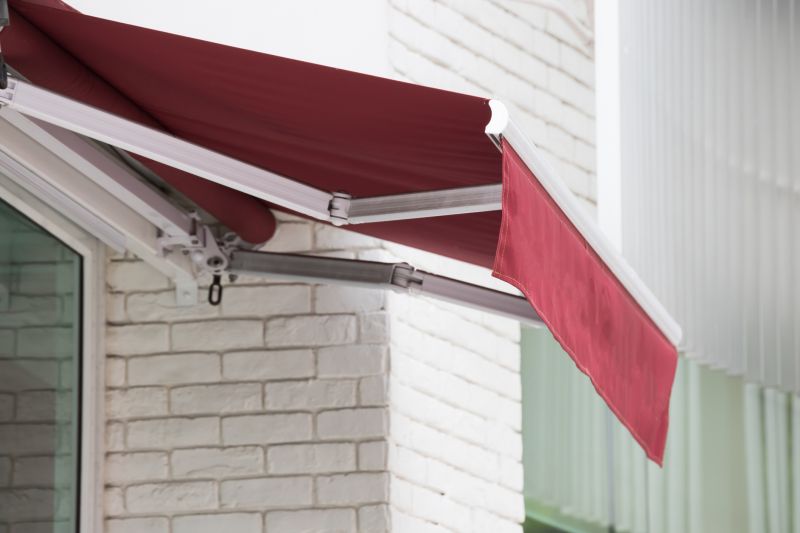
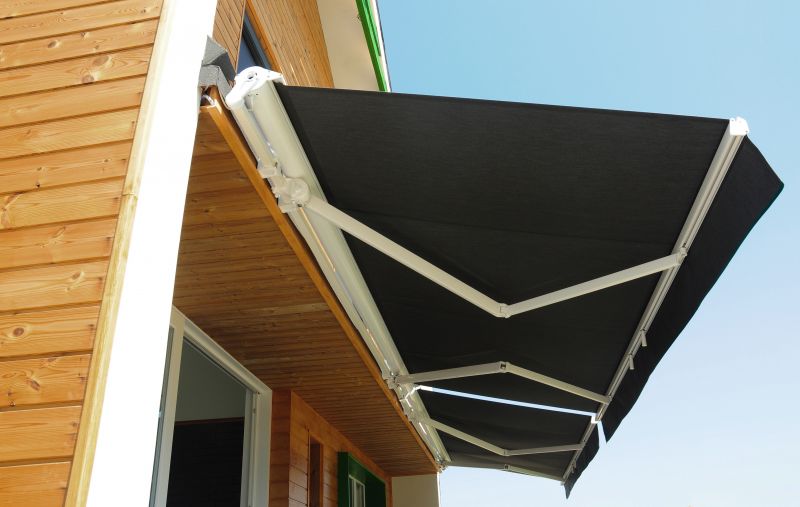
Awning bracket installation is a specialized service that involves securely attaching brackets to a building’s exterior to support an awning. Property owners often seek assistance when installing new awnings, replacing outdated hardware, or ensuring existing brackets are properly secured. Local contractors who specialize in this work typically handle a range of projects, from small residential setups to larger commercial installations. These professionals have experience working with different building materials and styles, helping ensure that the brackets are installed safely and effectively to provide reliable support for the awning.
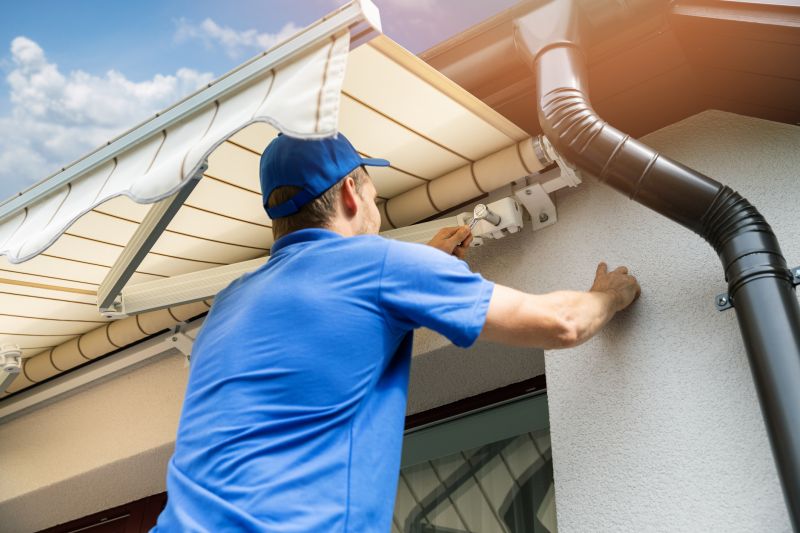
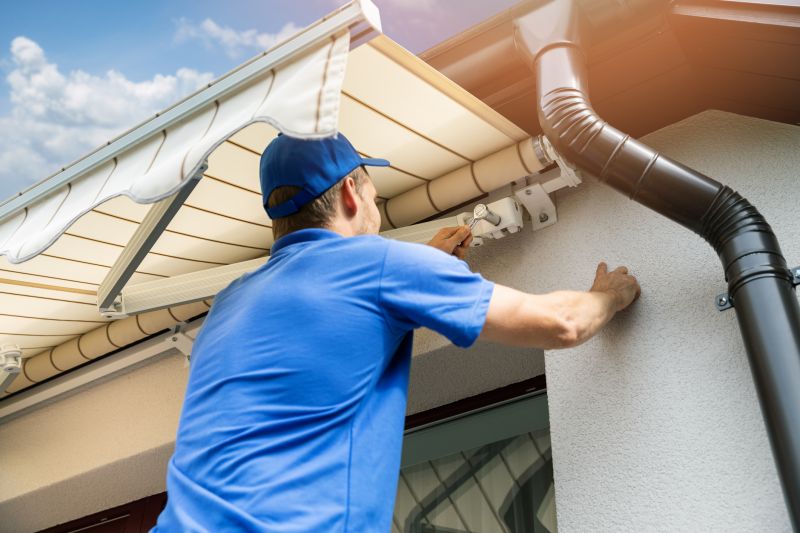
When searching for awning bracket installation services, property owners can expect local service providers to evaluate the structure and recommend appropriate mounting solutions. The work usually involves measuring and marking the correct placement, drilling into the building surface, and securely fastening the brackets. Depending on the situation, additional considerations such as weather resistance or compatibility with existing fixtures may be addressed. Connecting with experienced local contractors can help ensure the installation is completed correctly, providing a sturdy foundation for the awning and enhancing the property's exterior.
This guide provides helpful information to understand the process of awning bracket installation and what to consider when choosing a service provider. It assists in comparing local contractors to find experienced professionals suited for the job. The goal is to help visitors gather the basics needed to connect with qualified local service providers.